Introduction
This module provides helpful tips for installing wireless equipment on rooftops. It should be considered a companion to the "Prep, Install and Finish" guide on installing equipment on rooftops. Eventually these tips and ideas will be common sense. For now, treat them as guidelines, although they may not all apply to every installation in your neighborhood.
This module covers some safety tips and logistics for dealing with: sites; tools and equipment; cable management; and linking wireless nodes. It is not meant to include everything, so if you find other useful tips or techniques, please let us know!
If you are using this document as a teaching guide or for instruction, it will make the most sense to cover it before performing any installations. It will take about 45 minutes to an hour to discuss the various points.
Time required: 45 minutes - 1 hour.
General Rules
- Never, ever work alone.
- Discuss your installation plan with the whole team before you leave the ground floor.
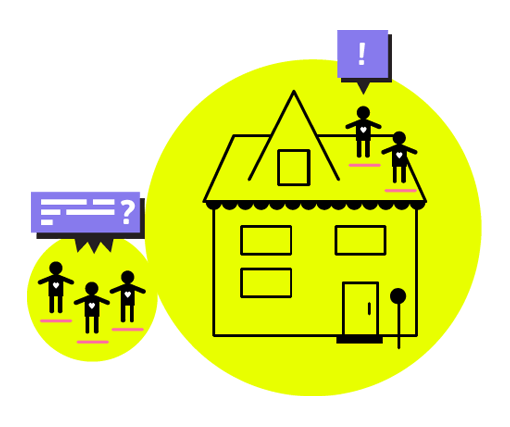
- Contact the landlord/building manager or other concerned personnel before any work. Showing up to a site unannounced isn't neighborly!
- Exchange contact numbers with the whole team before going on site. Include emergency contacts.
- Work with a tool bag that has all needed parts. Include a checklist, such as the "Gather Tools and Wireless Equipment" guide, and use it before you go on site.
- Assess if you need a ladder or other support equipment before you begin work.
- Create plenty of documentation. Pictures, lists of equipment installed, mounting conditions, and network diagrams all help people performing maintenance in the future.
- When appropriate, write the node's name on the equipment before you descend from the roof. This is especially helpful when there are multiple similar nodes on a rooftop.
- Wear sturdy closed-toed shoes or boots for better grip and foot protection.
Using Power Tools
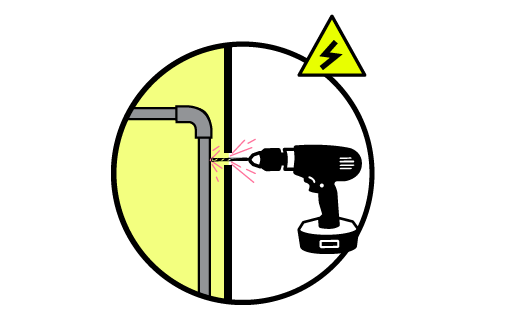
- Before you start drilling, assess how deep to drill based on the length of screws and bolts and the thickness of walls and mounting assets.
- Make sure all devices with batteries are charged before you climb onto the roof. Carry additional batteries when possible.
- Before you drill, identify where power / HVAC / other conduit runs behind walls. DO NOT drill into anything that will harm wiring, puncture conduit, or cause structural problems.
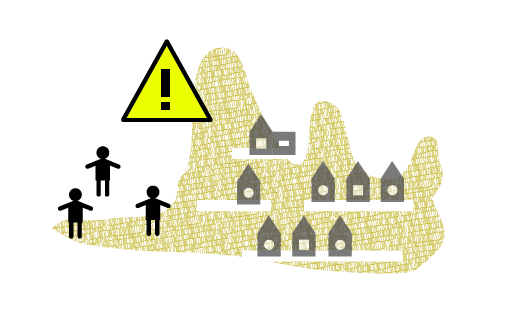
Working on Roofs
- Familiarize yourself with the roof before you climb up. To know what you are dealing with and be prepared, you can draw a layout plan or map to use as reference.
- When you survey the building or site before installing your node, identify the safest way to run the cable from the node into the building. Remember, you may need to access the cable at a later date to inspect for damage or to replace it.
- Plan the process and delegate roles to people working on the installation team
so that not everyone is on the roof at the same time.
Cable Installation
When installing the cable between the outdoor wireless node and the indoor power supply, keeping things neat and tidy will be appreciated by the building owner, and lead to fewer problems in the future. To properly run the cable, follow these steps:
- Bring the spool or box of Ethernet cable to the location where you will install the wireless node.
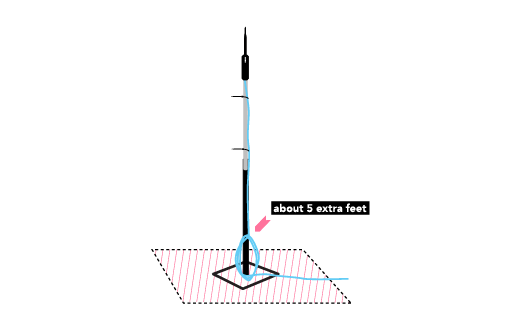
- Pull out enough cable so that you will be able to crimp the end, and attach it to the mounted wireless node. Make sure to leave about 5 extra feet, in a loop at the bottom of the mount, in case it needs to be moved later.
- Pull cable out of the spool as you move from the node and mount to where the cable will enter the building.
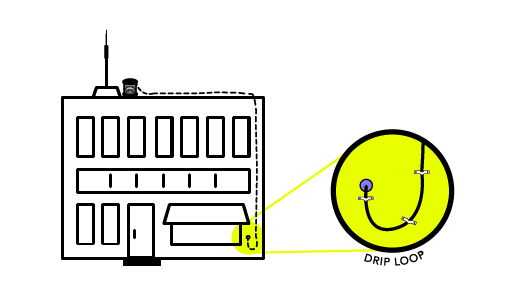
You should leave a "drip loop" right before the hole where the cable enters the building. This will prevent water from running along the cable and getting inside!
When running cabling, be careful not to deform it with fasteners - zip ties installed too tightly or incorrect staples can damage the cable. Be aware of the cable's bend radius- bending a cable too much can cause damage. If running a cable through a wall, use a grommet and reinforcing the cable when running it over an edge, for example by reinforcing it with multiple layers of electrical tape or something similar. If installing outdoors on high points like rooftops, best practice is to use shielded cable and connectors, as well as a lightning arrestor.
- Pull out enough cable to enter the building and run it to where the power supply (Power over Ethernet adapter) will be located. When in doubt, pull extra cable. It may be a little wasteful, but will save you time in the long run. Cut the cable, then run the end through the hole into the building.
- Crimp the end of the cable on the inside of the building, and plug it into the Power over Ethernet adapter (PoE). Make sure the wireless node turns on and starts up!
- For the indoor cable run, use cable staples and try to route the cable out of the way.
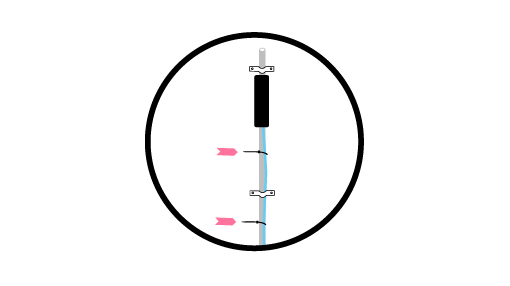
- Outside, secure the Ethernet cable with plastic ties to various points along the roof. On the mounting pole, attach the cable with plastic ties every 18 inches or so. Along the roof surface, if you can, fasten down the cable every few feet to keep it from blowing around in the wind. If possible, do the same for the cabling that runs down the side of the building.
Definitions
- Node
- An individual device on a mesh network